Canning Basics 101

One way to stock your pantry with some foods that you love is to preserve them. Are you new to the idea of canning and preserving? This article will give you an overview of what the process is all about and how it can help you to store delicious items to eat later.
What is Canning?
Canning is the process of preserving foods for eating later. It was a great way for people to have food throughout the winter months. Summer fare won’t last forever. One way to keep enjoying the taste of summer berries and vegetables is to preserve them. That’s one way that people living in remote locations in the early days were able to survive the long harsh winters.
Benefits of Canning
Canning does take a while to do until you get the hang of the process. So, why can at all? There are several benefits for you and your family.
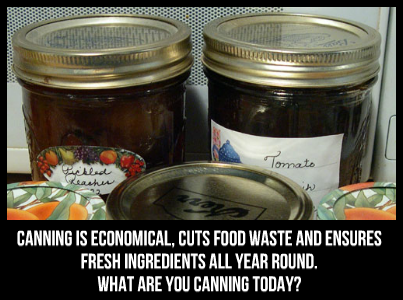
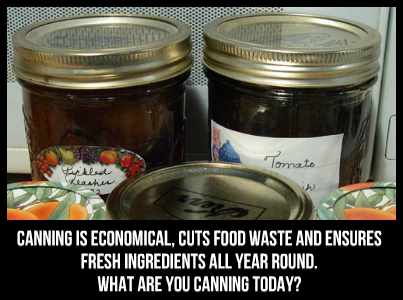
Canning is economical – It saves money on groceries. When you want strawberry preserves, you go to the pantry instead of heading to the store.
Canning cuts out food waste – Fruits and vegetables that you have grown in your garden don’t have to be given away or thrown away because you can’t eat them all before they spoil.
Fresh and good for you – Canning uses the natural fresh ingredients without preservatives or additives. This is better for the body. Also, the natural flavor of the food comes through for a tastier meal.
The Canning Process
In order to get started, you’ll need a few tools. Kitchen and home stores usually stock what you will need to get started. You can also Google “canning supplies” online to see the best stores and the best prices. Even if you only can foods one season, your equipment will have paid for itself.
You will need:
- Canning jars, seals and lids
- Wide mouth funnel
- Ladle
- Jar lifting tongs
- Pressure canner or large cooking pot with lid
- Large pot or Dutch oven
- Clean towels
The first thing you will need to so is to sterilize your jars and lids. Wash them with hot water and soap. Then boil them for about 10 minutes. Make sure that they are completely covered so they are sterilized inside and out.
Prepare your food. Slice up or dice your vegetables and fruits. Pickling may be preferred for some vegetables. Make preserves out of your fruits if you wish. Prepare them at the peak of freshness for maximum flavor and nutrition. Add lemon juice to tomatoes to achieve stable pH. Ascorbic acid can prevent fruits from browning in the jar.
Fill the jars with your fruits and vegetables, leaving space for expansion. Add boiling liquid or pickling solution until it covers the top of the food. Remove any air bubbles before sealing with the lids and the rings.
To complete the process, the sealed jars must be placed into boiling water in a pot of pressure canner. Make sure water covers the jars when water bath canning. The boiling time depends on the food and the altitude.
Allow jars to cool and vacuum seal before labeling and storing them.
Canning allows you to enjoy your favorite foods all year round.


